 Change currency
 USD
USD  EUR
EUR


Please note this is a guide and you should ALWAYS follow the Manufactures Instructions first
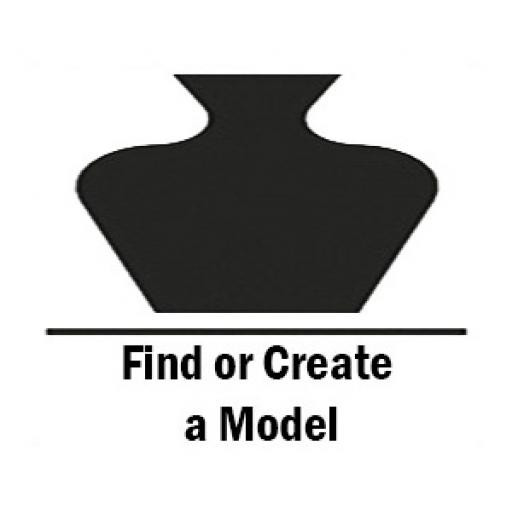
If you are a 3D designer or a manufacturer and you are already creating your own 3D models you can move onto the next step after Exporting or Saving your model to a STL file format.
If you are totally new to 3D modelling and would like to create your own 3D models to print, then you need to start by finding some design software that suits you. The sort of software you need for the models you want to create. There is a wide range of software out there, free to use and purchase. These programs also vary in how complex they are to use, it is worth having a good look around to find the right one for you. Here are just a few examples for both Sculpting and more CAD based 3D design software, if you are looking to sculpt your models there are programs such as Zbrush, Maya, Lightwaveare or one which is free is Blender, for more CAD based work there is Autocad Inventor, Solidworks, SpaceClaim and another free example is grabCad. The most important thing you need is a software that can save your models to a STL format.
The easiest way to get started with 3D printing is to download a model from a dedicated 3D printing website, here are some links to just a few of them:


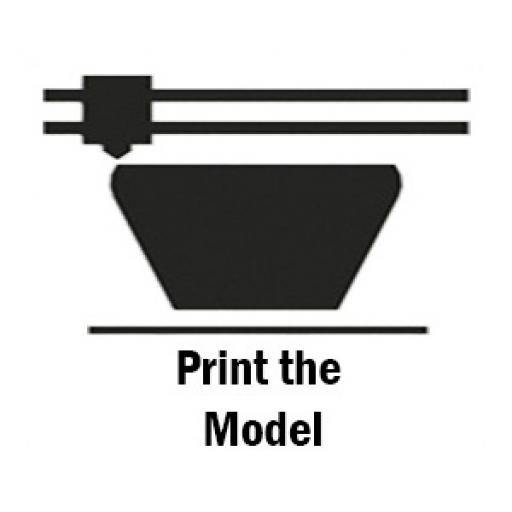
This is the stage were you are preparing your selected model for printing and is the most important part, what this section covers is how to change your model(STL) into G-code or rather the information your printer needs to be able to print the model.
The best way to start and good practice to keep in with your 3D printing routine is to check your model first, if you don't and there is a problem with your model the chances are the print will fail and you'll end up sitting there wondering why things have gone wrong.
So to check your model you need to download and install a program called Netfabb (there is a free trial version and this is all you will need). Once you have installed Netfabb, open your STL file, then press the repair tool at the top to check the model and carry out an automatic repair. There are plenty of online tutorials to showing how to do this with a lot more detail.
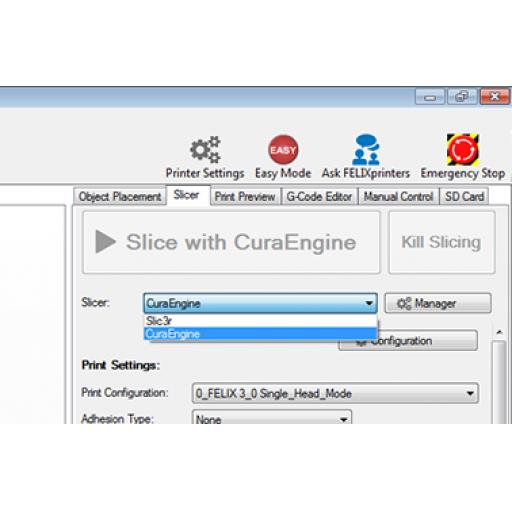
The next step is to slice your model ready for printing, for example if you are using Repetier-Host with your Felix printer you can just load the model (STL) directly, then you need to click on the Slicer Tab on the top right hand side of viewing window, then we recommend using the CuraEngine (see image for help locating these selections).

3: Print Your ModelsOnce you have Sliced your model you are nearly there, all that is left to do is either save your G-code on to a micro SD card then place it into your printer to print from there or at the top of Repitier-Host you can press the "Start Print " button to print directly via a USB cable.
|
The basics on how 3D printing works


Please note this is a guide and you should ALWAYS follow the Manufactures Instructions first
If you are a 3D designer or a manufacturer and you are already creating your own 3D models you can move onto the next step after Exporting or Saving your model to a STL file format.
If you are totally new to 3D modelling and would like to create your own 3D models to print, then you need to start by finding some design software that suits you. The sort of software you need for the models you want to create. There is a wide range of software out there, free to use and purchase. These programs also vary in how complex they are to use, it is worth having a good look around to find the right one for you. Here are just a few examples for both Sculpting and more CAD based 3D design software, if you are looking to sculpt your models there are programs such as Zbrush, Maya, Lightwaveare or one which is free is Blender, for more CAD based work there is Autocad Inventor, Solidworks, SpaceClaim and another free example is grabCad. The most important thing you need is a software that can save your models to a STL format.
The easiest way to get started with 3D printing is to download a model from a dedicated 3D printing website, here are some links to just a few of them:


This is the stage were you are preparing your selected model for printing and is the most important part, what this section covers is how to change your model(STL) into G-code or rather the information your printer needs to be able to print the model.
The best way to start and good practice to keep in with your 3D printing routine is to check your model first, if you don't and there is a problem with your model the chances are the print will fail and you'll end up sitting there wondering why things have gone wrong.
So to check your model you need to download and install a program called Netfabb (there is a free trial version and this is all you will need). Once you have installed Netfabb, open your STL file, then press the repair tool at the top to check the model and carry out an automatic repair. There are plenty of online tutorials to showing how to do this with a lot more detail.
The next step is to slice your model ready for printing, for example if you are using Repetier-Host with your Felix printer you can just load the model (STL) directly, then you need to click on the Slicer Tab on the top right hand side of viewing window, then we recommend using the CuraEngine (see image for help locating these selections).
3: Print Your ModelsOnce you have Sliced your model you are nearly there, all that is left to do is either save your G-code on to a micro SD card then place it into your printer to print from there or at the top of Repitier-Host you can press the "Start Print " button to print directly via a USB cable.
|